

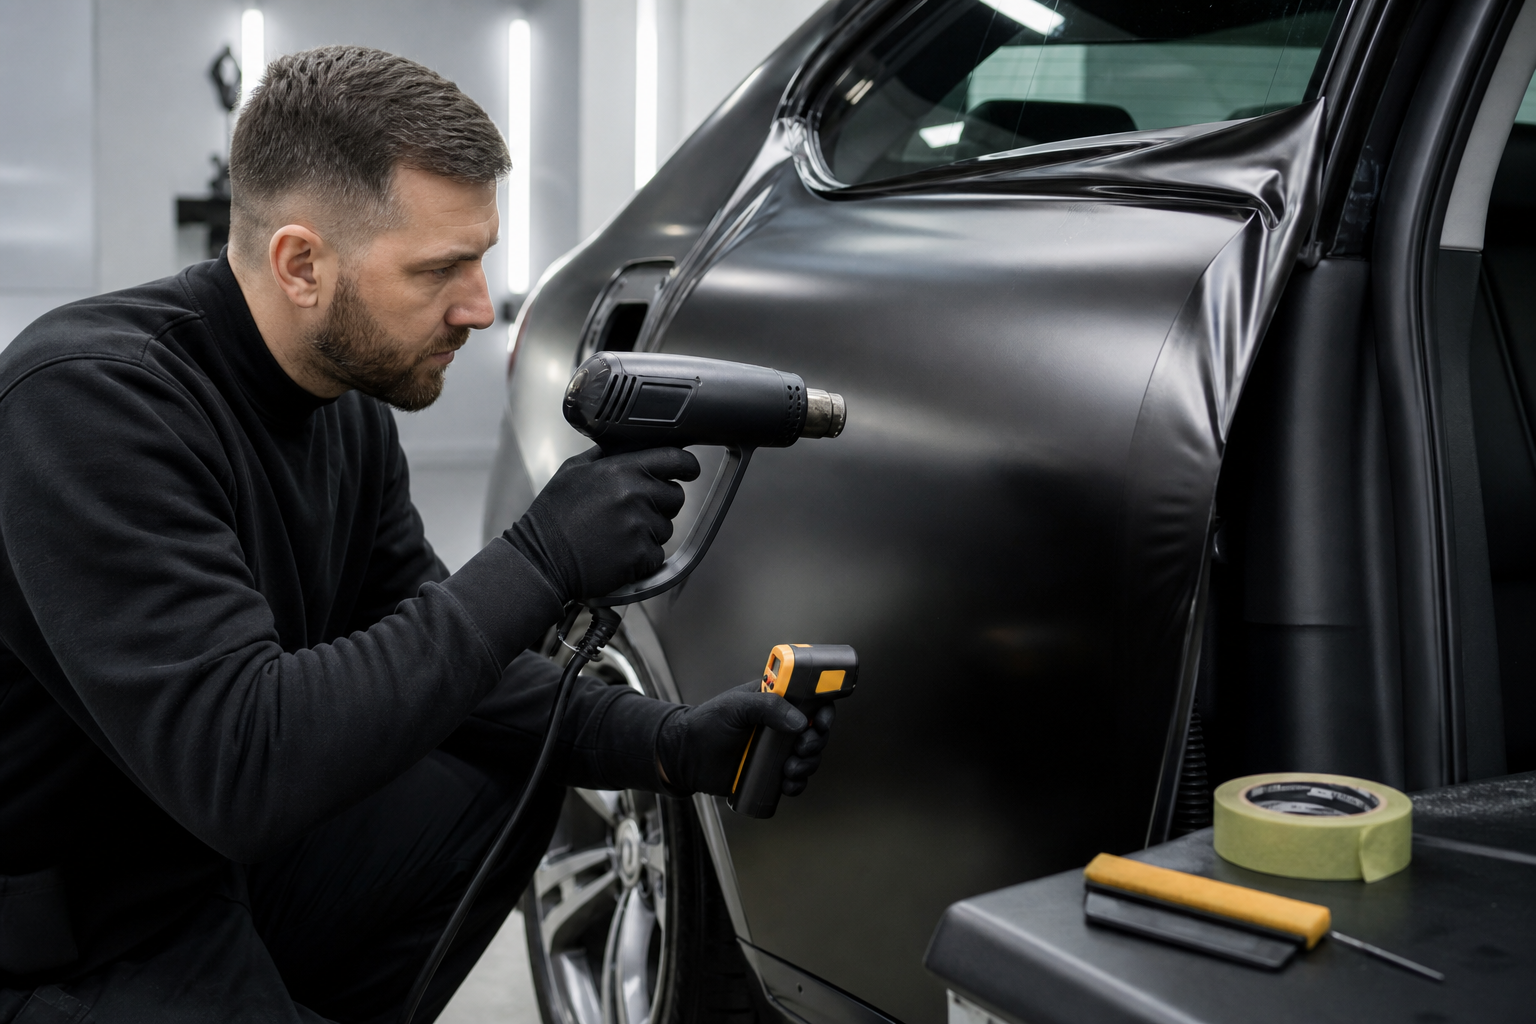
Quick answer: There is no single safe temperature for every vinyl. Use the film maker’s product bulletin as the controlling specification and verify the surface with an infrared thermometer. During shaping, heat only until the film relaxes; post-heating temperatures are usually much higher and product-specific.

| Task | Practical approach | Main risk |
|---|---|---|
| Gentle conforming | Warm gradually while keeping the gun moving | Gloss change, adhesive marks or overstretch |
| Edges and recesses | Use the exact post-heat specification and measure the film surface | Edge lifting if under-heated; damage if over-heated |
| Bubble or wrinkle correction | Lift and reset before adding more heat | Locking distortion into the film |
| Removal | Warm a small area and pull at a low angle | Adhesive residue or paint damage on unsound finishes |
Why a heat gun matters
A heat gun for vinyl wrap is a control tool, not a shortcut. Controlled warmth reduces film memory temporarily, helps the sheet conform around curves and allows adhesive to flow at edges. Excess heat can permanently distort texture, change gloss, collapse air-release channels or damage nearby trim.
The temperature dial on the gun is not the temperature of the vinyl. Distance, airflow, room temperature, gun movement and panel material all change the surface reading. That is why experienced installers watch the film and confirm critical post-heating with an infrared thermometer.
Application temperature versus post-heat temperature
Application heat is used while positioning and conforming film. The goal is often simply to make the material relaxed and workable. Post-heating happens after the film is fully applied and is intended to reduce stored stress in stretched areas; it uses a measured surface target defined by the specific film manufacturer.
Published instructions illustrate why guessing is unsafe. Different film systems specify different targets: some products call for approximately 70°C, others around 80–90°C, and some recessed applications around 93–107°C. Never transfer a number from one film family to another.
A safe heat-gun technique
Start with a clean, dry panel and test a scrap from the same roll. Hold the gun far enough away to spread heat, keep it moving in overlapping passes and warm a larger area rather than blasting one point. Use your free hand or a glove to feel how the material relaxes, but rely on a thermometer for any specified finishing temperature.
Do not heat unsecured film until it shrinks uncontrollably. If a wrinkle forms, lift the sheet back to a stable area, neutralize the distortion gently, then lay it again with less tension. Heat should support good tension management, not compensate for poor positioning.
Edges, corners and deep recesses
Edges fail when contamination, excessive stretch or insufficient finishing leaves the adhesive under stress. Clean the return area, leave enough material to wrap the edge, squeegee firmly and post-heat only after placement is final. Allow the area to cool and re-squeegee where the product instructions require it.
Complex corners are safer when excess tension is distributed across a broad area. Avoid pulling a small hot point around a corner; that creates a thin zone that may discolor or lift. Inlays and seams can be more durable than forcing a single piece beyond its practical limits.
Using heat for vinyl removal
Warm a manageable section until the old film becomes flexible, then pull slowly at a low angle. Work in small zones so heat does not build in the paint. If adhesive remains, use a paint-safe remover recommended by the film supplier rather than scraping the panel.
Wrap should not be removed from peeling clear coat, uncured refinishing or unknown repairs without a paint assessment. Heat cannot make weak paint safe. Stop if paint begins lifting and consult a professional.
Heat-gun safety checklist
Keep the nozzle away from skin, wiring, rubber seals, glass edges and fuel areas. Rest the tool on a heat-resistant stand, keep the cord clear of the vehicle and never use an open flame. Ventilate the workspace and follow the heat-gun and film manufacturers’ safety instructions.
Build the rest of your setup with our complete car wrapping tools checklist. A thermometer, clean squeegee and disciplined workflow are just as important as the gun itself.
Frequently asked questions
Can I use a hair dryer instead of a heat gun?
A hair dryer may warm small, simple areas but usually lacks the airflow and control needed for full vehicle work or measured post-heating.
How do I know the vinyl is too hot?
Stop if the finish changes, the film becomes unusually soft, edges curl, adhesive marks appear or the material shrinks aggressively.
Do I need an infrared thermometer?
Yes for any manufacturer-specified post-heat target. The gun setting and your hand cannot accurately report film-surface temperature.
Final recommendation
Use this guide to shortlist the right material and installation approach, then confirm the exact film specifications, vehicle condition and coverage before ordering. Product instructions and a written installer scope should always take priority over general estimates.
Build a repeatable heat-control routine
Before the liner comes off, prepare the heat gun, infrared thermometer, clean glove and a stable place to rest the tool. Test the controls away from the vehicle. Work in a well-lit area where the cable cannot drag across fresh vinyl or create a trip hazard. This simple setup removes the temptation to hold a hot tool while reaching for another item.
During application, heat a wider area than the exact wrinkle you are trying to remove and keep the gun moving. A narrow blast can create a hot spot while the surrounding film remains cool and tense. Watch how the material relaxes, then reduce heat before stretching. If the film becomes unusually soft, shiny, dull or distorted, stop and let it cool rather than trying to rescue it with more tension.
Edges, recesses and post-heating are different jobs
Application heat helps film conform temporarily; post-heating addresses areas where the film has been stretched and may try to return toward its original shape. Those jobs should not share one guessed temperature. Finish the panel, identify stretched zones, and follow the exact film maker's technical bulletin for the required surface temperature and dwell method. Confirm the panel with a thermometer instead of relying on touch.
Edges also need clean adhesive contact. Heat cannot compensate for polish residue, dust, moisture or an edge that was cut too short. Clean and dry the return, apply firm pressure, and inspect after cooling. If an edge repeatedly lifts, diagnose contamination, excess tension or an unsuitable substrate instead of repeatedly reheating it.
Control heat during removal
For removal, warm a manageable section and pull the vinyl slowly at a low angle. Excessive heat can soften adhesive and leave more residue, while pulling cold film may cause it to break into small pieces. Paint condition matters: stop if clear coat moves, if the panel has an unknown repair history, or if corrosion is visible near the edge.
Use the product instructions as the final authority, and explore more practical installation resources from WINWAYWRAP. Controlled movement, direct temperature measurement and patient inspection are safer than treating the heat gun's dial as a universal recipe.
Share:
Car Wrapping Tools and Materials: The Complete Installation Checklist